Installation Instructions
To avoid mistakes during installation, you should pay attention to the following:
- No sharp edges on the tool or workpiece
- No dirt
- No metal shavings
- No remnants of molding sand
- No contaminated assembly grease/oil
- No uncovered grooves
Inserting the seal
You can find illustrated instructions here.
Before assembly
Prepare the seal and sealing point.
Observe the correct sealing lip position of the gasket in relation to the medium/space to be sealed and the mounting direction – see drawing of construction types/mounting direction. For the double lip seal, fill the grease chamber to 2/3 of the chamber volume with a suitable grease. Pay attention to chemical compatibility. When filling, make sure that there is no excessive build-up of fat between the membrane and the metal part. Squeeze out excess fat.
Sharp edges and corners should be covered. Grooves can be masked with adhesive tape, for example. Lightly grease/oil the axle, spray the outside of the seal with isopropanol (70% solution).
For shafts with a tongue and groove connection, the seal is inserted with a mounting sleeve (see drawing of mounting sleeves).
Mounting sleeves
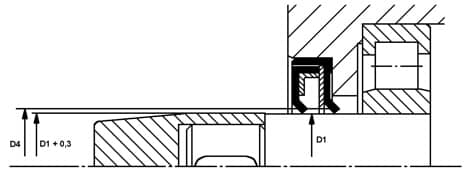
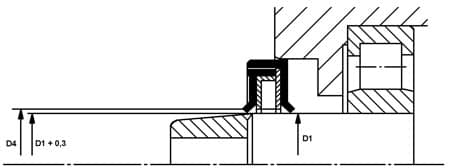
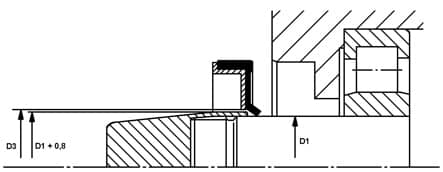
Simply contact us, we will be happy to help.
A press-in mandrel on a press-in device should be used for mounting parallel to the axle (Figure 11). Press the seal on the outer casing (not the inner diameter) into the housing bore using a pressing mandrel (approx. D2 – 0.5 mm) straight and without tilting. Under no circumstances should pressure be exerted on the inside (sealing lip) of the seal.
Figure 11
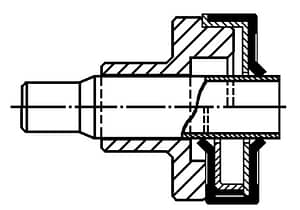
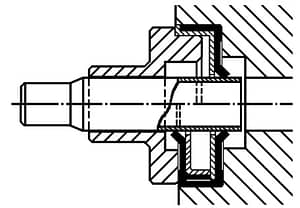
Install the shaft through the seal with a rotating movement. If the sealing lips are positioned against the mounting direction, do not fold the sealing lips over or pinch them between the shaft and the metal ring. To rule this out, push the shaft back slightly with a slight twist so that the sealing lips return to the correct position (spring back). Then push the shaft through the seal with a slight rotating movement. Check whether the axle has been damaged by contact with the metal support bodies of the seal.
If the shaft is already fitted:
Fit the seal over the shaft with a slight rotating movement of the seal. Here too, make sure that the sealing lips are not pinched or folded over. Also ensure that the supporting bodies of the seal do not damage the shaft or the running surface. Once the seal has been pushed up to the housing bore, press on the edge of the seal with a pressure ring and press the seal into the bore
(see drawing pressure ring).
After assembly:
If the seal has been fitted correctly (sealing lips not pinched or bent), the shaft must rotate smoothly. Please check.
Assembly process
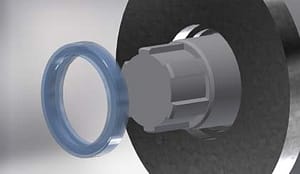
Before assembly:
– Fill to approx. 60 % with grease
– Observe the correct lip position
– Check that the housing bore is clean
– Shaft should be clean and lightly oiled with mineral oil
– Spray the outside of the seal with isopropanol
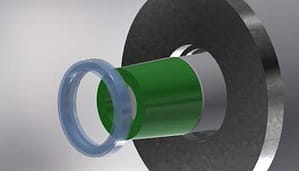
Auxiliary cone over shaft journal if necessary
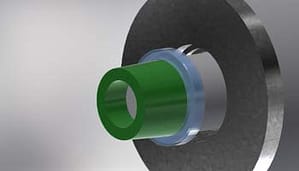
Push the seal onto the shaft while turning it slightly
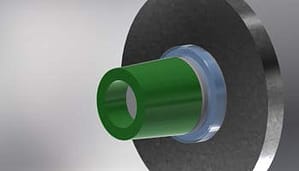
Always check the sealing lip for a clean fit
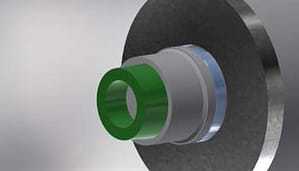
Press the seal into the housing bore parallel to the axis, using suitable aids
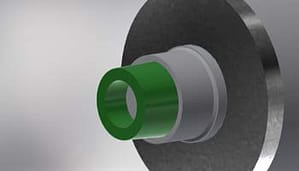
Check that the shaft is seated correctly and securely by turning it in both directions.
The shaft must be able to rotate smoothly. Seals installed at an angle have no sealing function!


